

To install roofing felt on a shed using adhesive, ensure the roof surface is clean and debris-free. Lay the first layer of felt, starting from the bottom edge, and secure it with adhesive applied uniformly underneath. Overlap subsequent layers by at least 100mm, using a hook blade for precise cuts at the edges, ensuring a tight fit. This secure installation technique creates a durable, waterproof barrier for roof protection. Further detailed guidance will enhance your project’s success.
What is Roof Felt and Why is it Important?
Roofing felt, a crucial component in building construction, serves as a secondary waterproofing barrier beneath the outer roofing materials.
It plays a vital role in protecting the roof structure from water ingress and weather damage by providing an additional layer of defence.
When selecting roofing felt, choosing a heavy-duty type suited to the specific climatic conditions and roofing materials is imperative to guarantee peak performance and durability.
Understanding Felt Roof
Understanding the role and importance of roof felt is vital before beginning any roofing project.
Roofing felt, often used as a secondary layer of protection, plays a significant role in roofing systems, especially for shed and flat roofs. Here are key aspects to take into account:
- Protection: Roofing provides an extra layer between the roof surface and the external elements, safeguarding against water penetration.
- Installation: Properly install felt using felt adhesive to guarantee a secure and durable fit.
- Overlaps: Confirm felt overlaps are sufficient to create a watertight seal, essential for maintaining the roof’s integrity.
- Layering: A second underlay layer may be necessary for enhanced durability and additional protection, especially in areas prone to harsh weather conditions.
The Role of Felt in Waterproofing
Most buildings require a form of water-resistant barrier as a fundamental aspect of construction, and roof felt serves as this vital protective layer beneath the outer materials.
Roofing materials benefit notably from the waterproofing capabilities provided by shed roof felt. When installing or performing shed roof felt replacement, it is imperative to use adhesive strategically to bond layers of felt securely.
This not only prevents water ingress but also enhances the durability of the roof. To apply the adhesive effectively, verify each layer of felt is meticulously aligned and the shed felt adhesive is evenly distributed.
This process assures that the felt and adhesive together create a robust barrier against moisture, essential for maintaining the structural integrity of the roof.
Choosing the Right Type of Heavy-Duty Felt
Selecting the appropriate type of heavy-duty felt is essential for guaranteeing your roof’s ideal performance and longevity. Here are key factors to take into account:
- Type of Felt: Choose traditional tar-saturated heavy-duty felt or modern self-adhesive felt based on your specific climate and roof design.
- First Layer of Felt: Verify the first layer of felt is aligned correctly and secured with a suitable adhesive, extending beyond the roof edge to prevent water ingress.
- Second Layer of Felt: Overlay the second layer to double the protection, overlapping considerably with the first to avoid gaps.
- Felt Overhang: Allow sufficient overhang at the roof edge, typically a few inches, to guarantee complete coverage of the roof area during felt installation.
How to Prepare Your Shed for Felt Installation?
The existing surface must be thoroughly prepared before installing new roofing felt on a shed.
This involves cleaning and repairing any damage to the flat roof and removing old felt and protruding nails that could impede the new installation.
It is vital to guarantee the roof surface is smooth to prevent any irregularities that could affect the longevity and effectiveness of the new roofing felt.
Cleaning and Repairing the Flat Roof
Preparing a shed for felt installation begins with thoroughly cleaning and repairing its flat roof. Making certain a clean and stable flat surface is vital for the adhesive to bond properly when you install roof felt.
Here’s how to effectively prepare the roof:
- Inspect the Roof Decking: Check for any signs of rot or damage. Any compromised sections should be replaced to provide a solid foundation for the new felt.
- Remove Old Materials: Carefully strip away any old roof materials and debris.
- Patch Repair: Apply a patch repair to any small holes or cracks using a suitable roof patching material to ensure a smooth surface.
- Clean the Surface: Finally, sweep and clean the roof to remove dust and particles, ensuring the adhesive will adhere adequately when applying the new felt.
Removing Old Felt and Nails
Once the roof is cleaned and any necessary repairs are made, the next step is to remove the old roofing felt and any remaining nails.
First, use a sharp utility knife to carefully cut through and lift the old pieces of felt from the shed’s roof. This should be done gently to avoid damaging the underlying structure.
Next, use a claw hammer or tool to remove old nails. Pay particular attention to any rusted or deeply embedded nails that might compromise the new installation.
It’s crucial to verify all remnants are removed to prepare a clean, smooth surface. If any underlying wood is found damaged during this process, replace any damaged sections before proceeding with the new shed felt installation.
What tools and materials are needed to install the roof felt?
To effectively install roofing felt, one must first gather essential tools such as a utility knife, hammer, straightedge, and a measuring tape.
Selecting the correct type of felt adhesive and clout nails ensures a secure and durable installation.
Clout nails, typically used with a hammer, are preferable for their wide head and short shank, which provide strong hold and minimal penetration through the felt.
Gathering the Essential Tools
Several essential tools and materials are required for the proper installation of roofing felt, each serving a specific function in the process.
Here is a carefully selected list of items needed:
- Utility Knife & Craft Knife – These are vital for cutting roofing felt with precision. A straight edge can aid in making clean, straight cuts.
- Tape Measure – It is necessary to accurately measure the roofing area to guarantee that the felt covers sufficiently without excessive waste.
- Felt Primer & Paint Brush – Primer enhances the adhesive properties of the felt, while a paintbrush is used for its application.
- Step Ladder – Essential for safely reaching the roof to lay down and secure the roofing felt.
Selecting the Appropriate Felt Adhesive and Clout Nails
Selecting the right felt adhesive and clout nails is essential for secure and durable roofing felt installation. The adhesive helps the felt to adhere firmly to the surface, preventing wind uplift and water ingress, while clout nails secure the felt, especially along the edges and at the drip edge. Choosing a high-quality felt adhesive designed for outdoor exposure and compatible with your roofing felt material is essential. Clout nails should be appropriately sized to hold the felt without tearing, typically with large, flat heads that distribute pressure evenly.
| Material | Purpose |
|---|---|
| Felt Adhesive | Guarantees adherence of felt to the roof surface |
| Clout Nails | Secures felt, particularly at edges and drip edge |
| Roofing Felt | Primary material to cover and protect the roof |
| Drip Edge | Guides water off the felt and roof, preventing underflow |
Choose these materials carefully to guarantee a robust side of the roof installation.
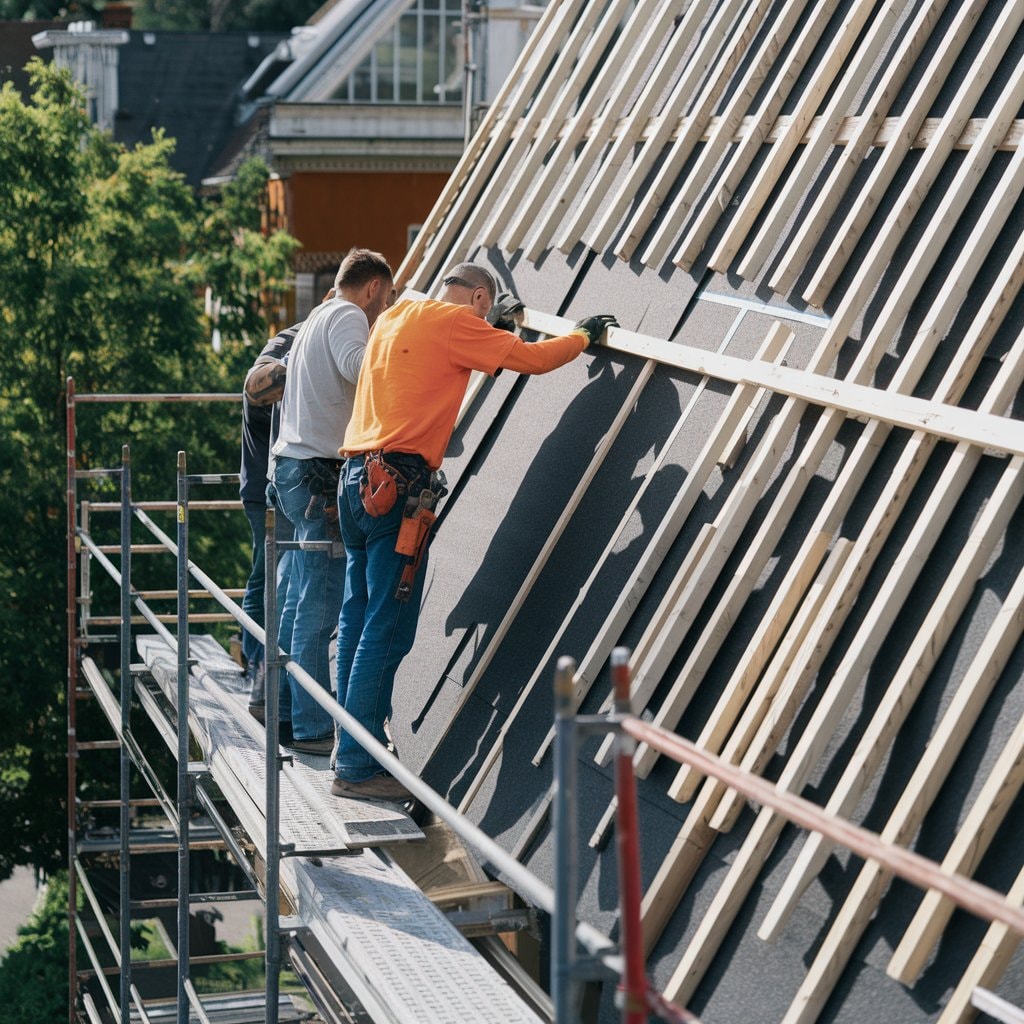
How to Apply Roof Felt on a Shed?
Applying roof felt on a shed begins with accurately measuring and cutting the felt to guarantee it covers the entire roof area without excess.
The first layer of the new roof felt should be laid smoothly, starting from the bottom edge of the roof and working upwards to allow for proper overlap.
After laying the felt, installing fascia boards along the edges enhances the roof’s appearance. It secures the felt edges while overlapping and fastening the final layer, which ensures a watertight seal.
Measuring and Cutting the Felt to Size
Accurate measurement and precise cutting are essential steps before laying the roofing felt on your shed. Ensuring that the felt covers the entire area without excess is vital for a waterproof seal.
- Measure the Roof: Start by measuring the length and width of your shed’s roof to determine the total area. Calculate enough coverage to allow for a slight overlap of each layer.
- Mark the First Sheet: Lay out the first roll of felt. Align it along the roof’s bottom edge, ensuring it extends slightly over the lower edge.
- Cutting the Felt: Use a sharp utility knife to cut your felt accurately. Fold the felt back if necessary to make clean cuts.
- Prepare Additional Strips: Measure and cut additional strips, ensuring each overlaps the first row by at least 3 inches to prevent leaks.
Laying the First Layer of the New Roof Felt
Once the third piece of roofing felt has been measured and cut, the next step is to lay the first layer onto the shed roof.
Begin by aligning the roofing felt along the roof’s bottom edge, ensuring it is straight and covers the entire surface.
The materials needed for this step include the pre-cut roofing felt, adhesive, and underlay felt.
Apply a generous amount of adhesive to the top felt of a shed roof’s roof to secure the installation of the underlay felt.
Carefully place the first layer of new roof felt over the adhesive, pressing down to remove any air bubbles and guarantee a firm bond.
This step-by-step guide helps to ensure a secure roof installation, protecting the shed from weather elements.
Installing Fascia Boards for a Neat Finish
After securing the roofing felt on the shed, the next critical step involves installing fascia boards to guarantee a neat and finished appearance.
This process enhances the aesthetic and protects the edges of the felt and structure.
Here are the steps to efficiently install fascia boards on a garden shed:
- Trim Excess Felt: Use a hook blade to neatly trim any excess felt along the roof’s edges, avoiding too much hassle.
- Prepare the Boards: Measure and cut the fascia boards to fit the perimeter of the shed roof.
- Secure with Wood Nails: Attach the boards using wood nails, ensuring nail heads are flush to prevent moisture penetration.
- Inspect and Adjust: Adjust for misalignments or gaps to ascertain a tight fit and polished look.
Overlapping and Securing the Final Layer
Properly overlapping and securing the final top layer of the roof is essential to guarantee the roofing’s durability and effectiveness. Start by overlapping the final layer by at least 100mm over the previous layer. Use a hook blade for precise cuts, making certain of a tight fit along the edges. For securing, options include self-adhesive, torch-on felt, or traditional adhesive methods.
| Step | Tool | Material |
|---|---|---|
| Overlap Measurement | Tape Measure | Roofing Felt |
| Cutting | Hook Blade | – |
| Securing | Torch/Adhesive | Self-Adhesive Felt |
Apply adhesive uniformly and press down for strong adhesion. With several layers already in place, make sure this topmost coverage has no air gaps, forming a waterproof barrier. Adhering to these steps results in a robust, three-layer protection.
How Do You Ensure a Waterproof and Long-Lasting Roof?
To guarantee a waterproof and long-lasting roof, it is vital to check the proper overhang and drip edge installation, as these elements help direct water away from the underlying structures.
Regular inspections should be conducted to identify any gaps or leaks, which can compromise the roof’s integrity if left unaddressed.
Additionally, ongoing maintenance of the shed’s roof is essential to prolong its lifespan and prevent future water damage.
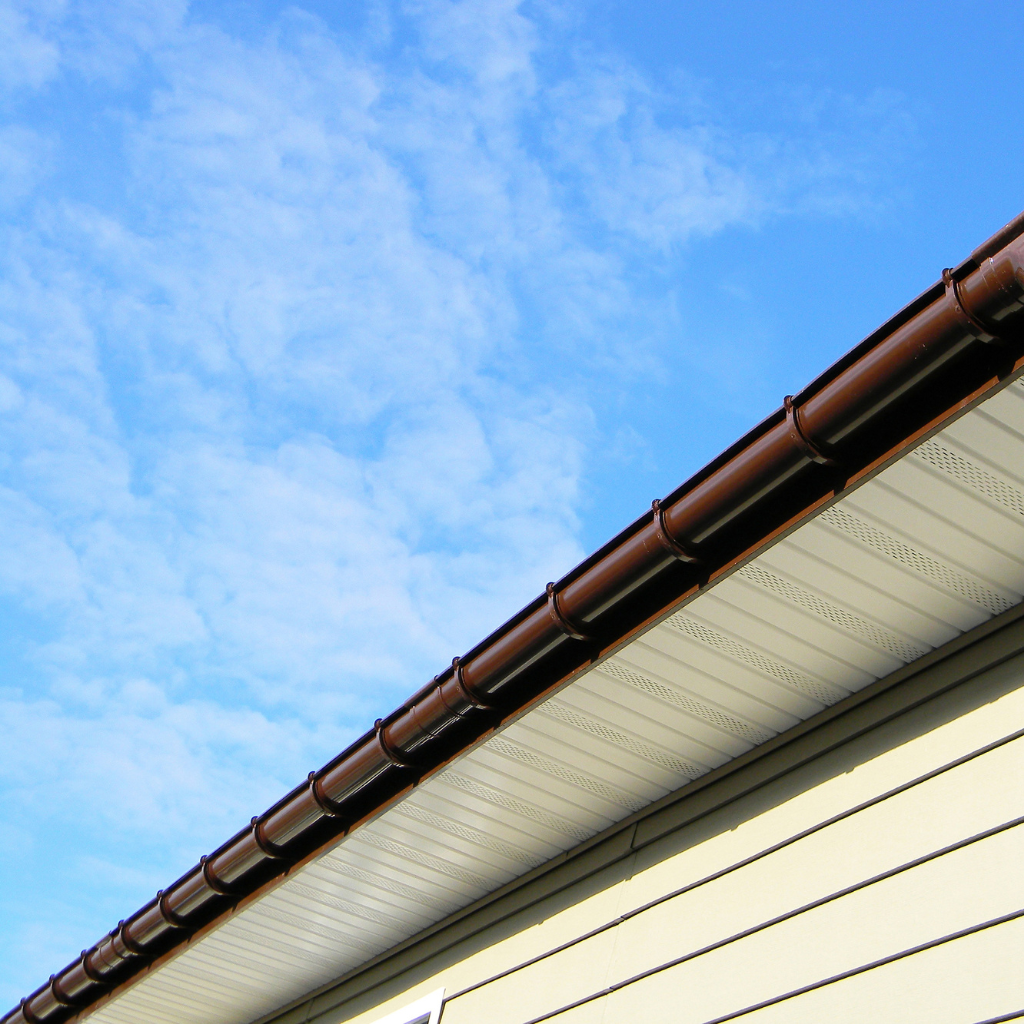
Checking for Proper Overhang and Drip Edge
Guaranteeing a waterproof and enduring rooftop begins with properly checking the overhang and drip edge installation. This critical step prevents water damage along the eaves of your roof and guarantees proper gutter drip functionality.
Steps to Check Overhang and Drip Edge:
- Begin at the bottom of the pitched roof: Verify that the overhang extends at least 2 inches past the eaves to direct water into the gutters.
- Inspect the roof length: Guarantee the drip edge runs continuously from one end to the other.
- Examine the entire roof area: Look for protruding nails or gaps in the drip edge alignment.
- Focus on each part of the roof: Guarantee that each segment joins neatly without misalignment or incomplete coverage.
Inspecting for Gaps and Leaks
Inspecting for gaps and leaks is essential when learning how to install roofing felt. Ensuring the roofing felt is appropriately aligned and secured can keep your shed protected from water damage.
This guide will help identify common mistakes that cause the feeling of failure. After laying the felt on a shed, inspect the overlaps and edges. Make sure the felt is flush and there are no puckers where water can pool.
Use sufficient nails along the perimeter and at seams to secure the felt without creating gaps. Regular checks, especially after severe weather, will safeguard the shed’s roof against leaks and prolong its lifespan.
Maintaining Your Shed’s Roof Over Time
After installing roofing felt and inspecting for any gaps or leaks, ongoing maintenance is key to preserving the integrity of a shed’s roof.
Whether it’s a new or an old shed, taking proactive steps can extend the roof’s lifespan. Here’s how:
- Regular Inspections: Check the felt for tears or wear bi-annually. Replace much felt as needed to prevent water ingress.
- Clean Debris: Remove leaves, twigs, and other debris that can trap moisture against the tar paper and breathable roof membranes.
- Reapply Adhesive: Periodically, you may need to apply additional adhesive under the felt to your roof to maintain its waterproof properties.
- Seal Edges: Verify the edges of the felt from your shed roof are well-sealed to prevent wind uplift and water penetration.
Conclusion
In summary, properly installing roofing felt is essential for prolonging the life of your shed’s roof. You can guarantee a waterproof and durable roof covering by carefully preparing the surface, using the right tools and materials, and applying the felt with precision and attention to detail. Always prioritize safety and follow best practices to achieve a professional-grade installation that stands up to the elements and protects your shed effectively for years.


